Allowing users to add events to your calendar can greatly enhance community engagement on your site. With The Events Calendar Plugin and the Community Events add-on, you can set this up easily. Follow these steps to enable event submissions from all users, including anonymous users.
Step-by-Step Guide to Enable User Event Submissions
1. Install the Community Events Add-on
First, ensure that you have the Community Events add-on installed and activated. This add-on provides the necessary functionality for user-submitted events.
2. Access Event Submission Settings
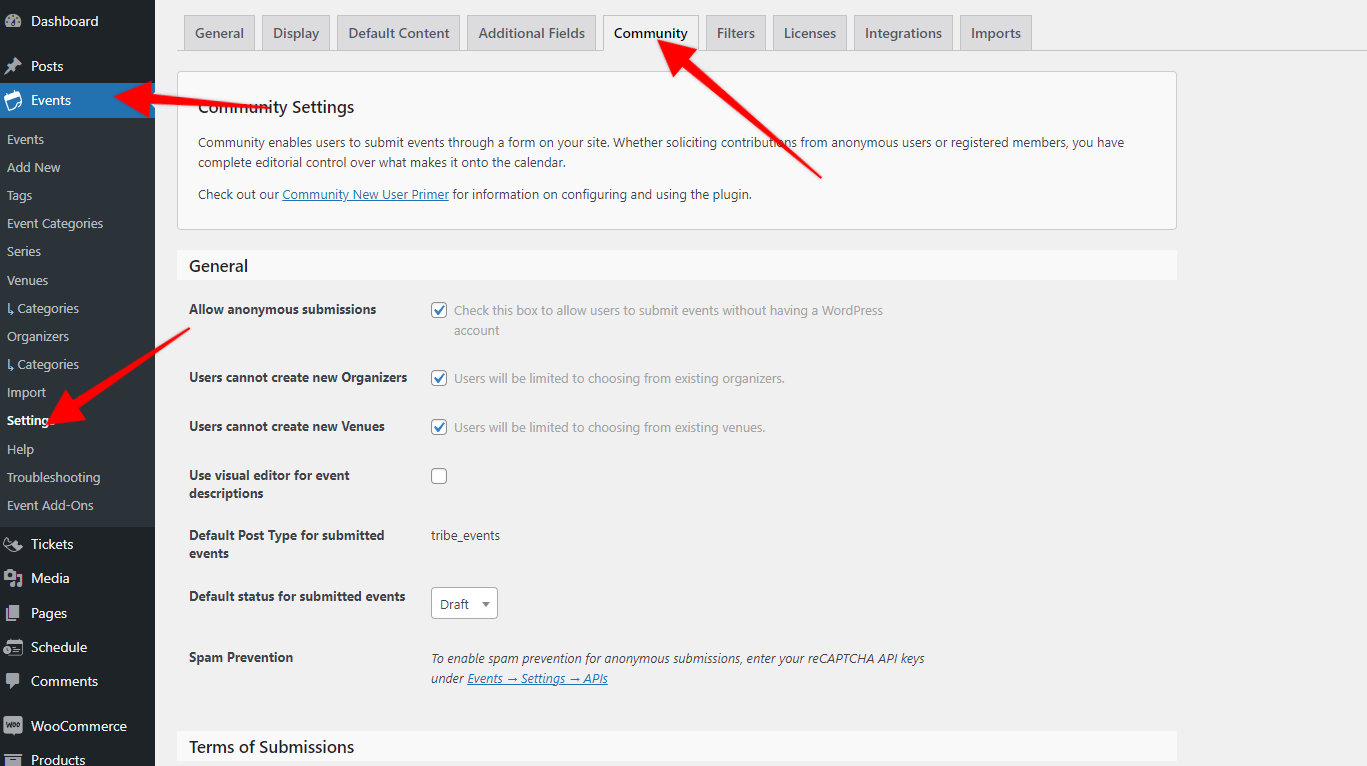
Navigate to Events → Settings → Community in your WordPress dashboard. This section allows you to configure how users can submit events.
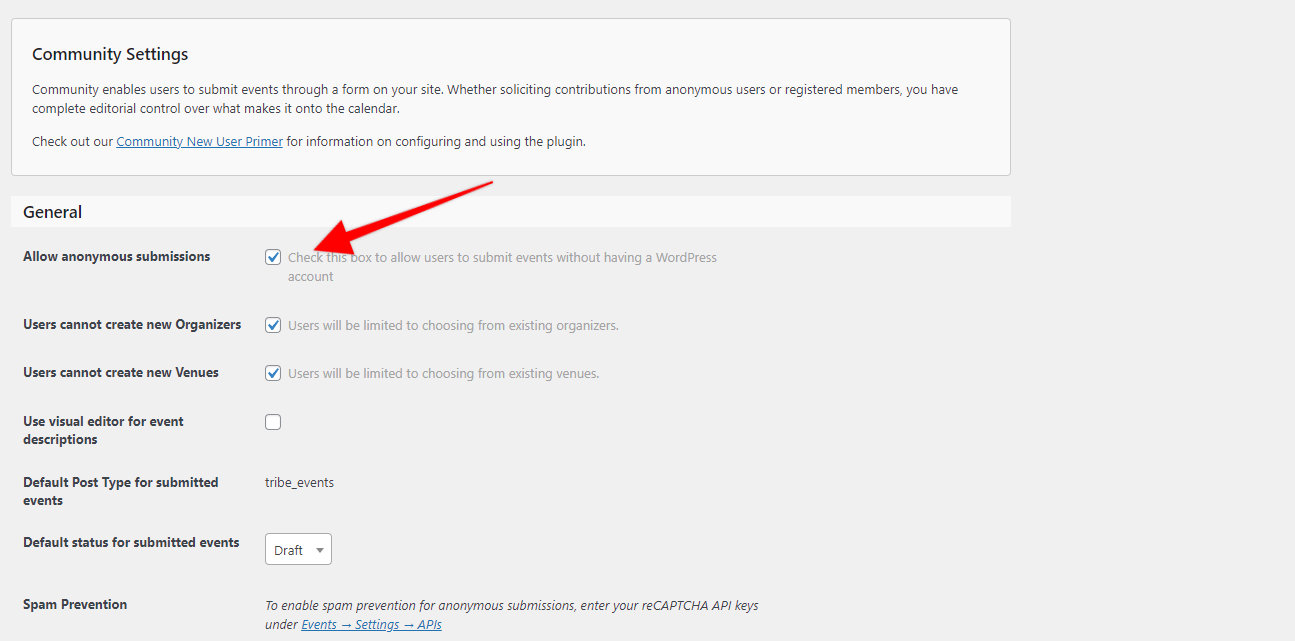
3. Allow Anonymous Submissions : Decide if you want to allow anonymous submissions:
Enable Anonymous Submissions: If you want any user, even those not logged in, to submit events, enable this feature.
Disable Anonymous Submissions: If you prefer only registered users to submit events, leave this feature disabled.
💡 Note: Anonymous users will be prompted to log in before accessing the submission form.
4. User Registration : If allowing submissions only from registered users, ensure that site visitors can register:
Go to Settings → General in your WordPress dashboard, then Check Anyone can register option to allow new users to create accounts and submit events.

💡 Note: The default role on each registration is set to Subscriber. You can modify this if you want your users to have additional access to your WordPress dashboard. For example, on ticket management, this article (see Ticket capabilities) guides you on how to set it up.
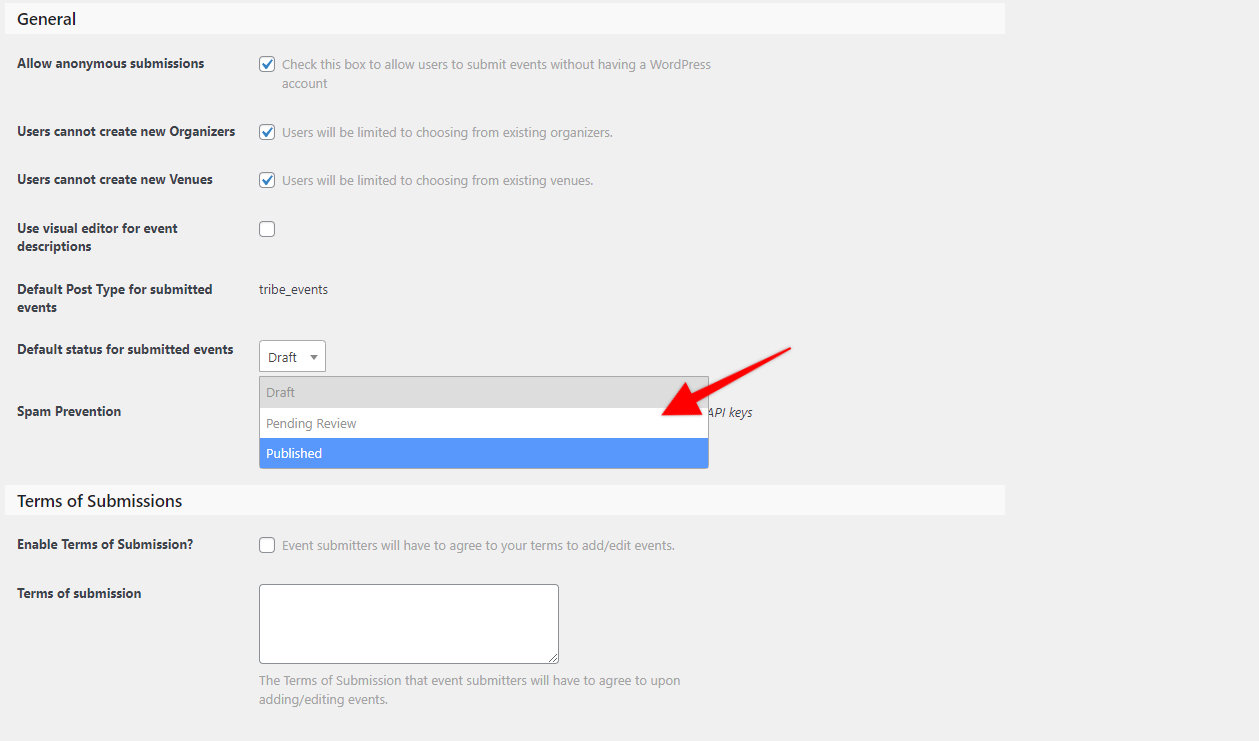
5. Configure Default Submission Status : Set the default status for submitted events based on your review process:
Draft: Events in this status will not be displayed until an admin publishes them.
Pending Review: Admins can easily identify and review these submissions before publishing.
Published: Events will be publicly accessible immediately after submission.
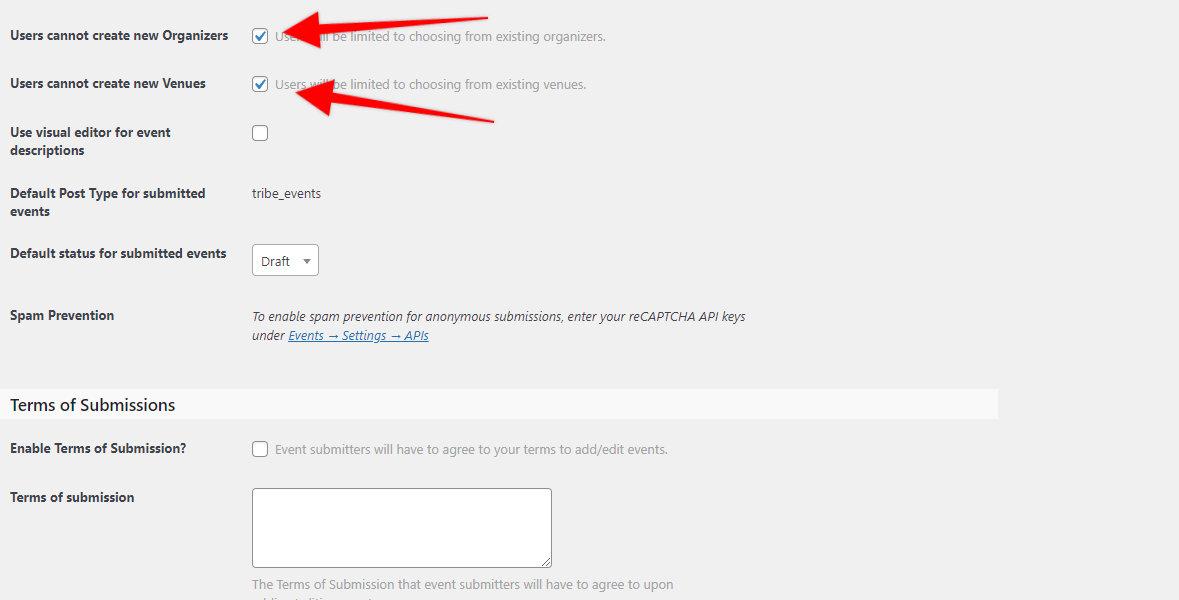
6. Allow Users to add new venues or organizers: You can enable options for logged-in users to create new venues and/or organizers by checking these boxes.
7. Allow Users to Edit or Remove Submissions : You can enable options for logged-in users to manage their submissions:
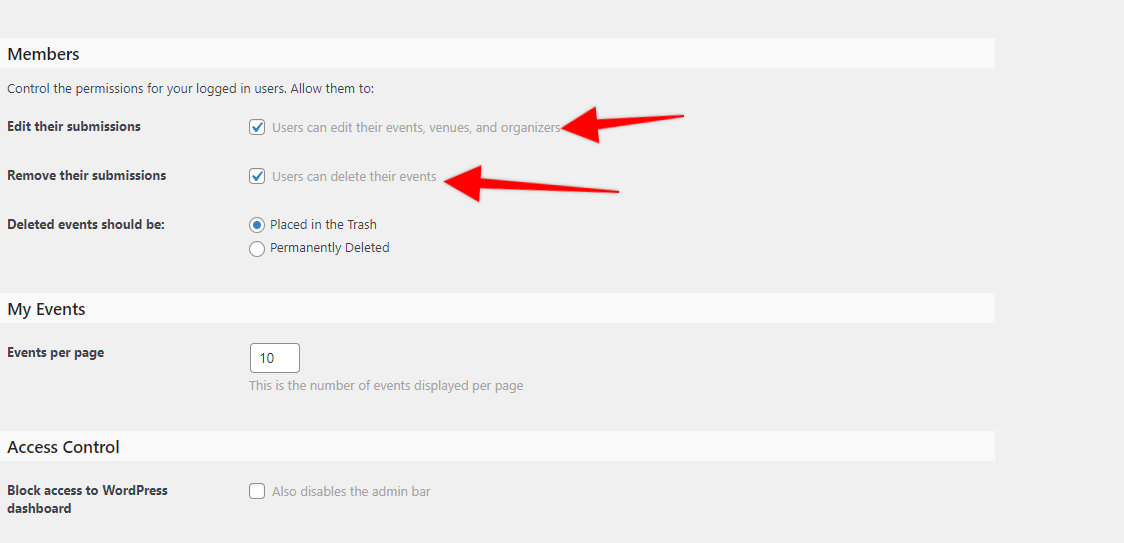
Allow Users to Edit Submissions: Logged-in users can edit their submitted events on the front end.
Allow Users to Remove Submissions: Users can remove their submitted events without notifying the admin.
💡 Note: By default, a logged-in user can access their submitted events on this URL format https://yoursite.com/events/community/list/ or on your WordPress dashboard depending on their account’s role.
8. Deleted Events Handling : Decide how to handle deleted events:
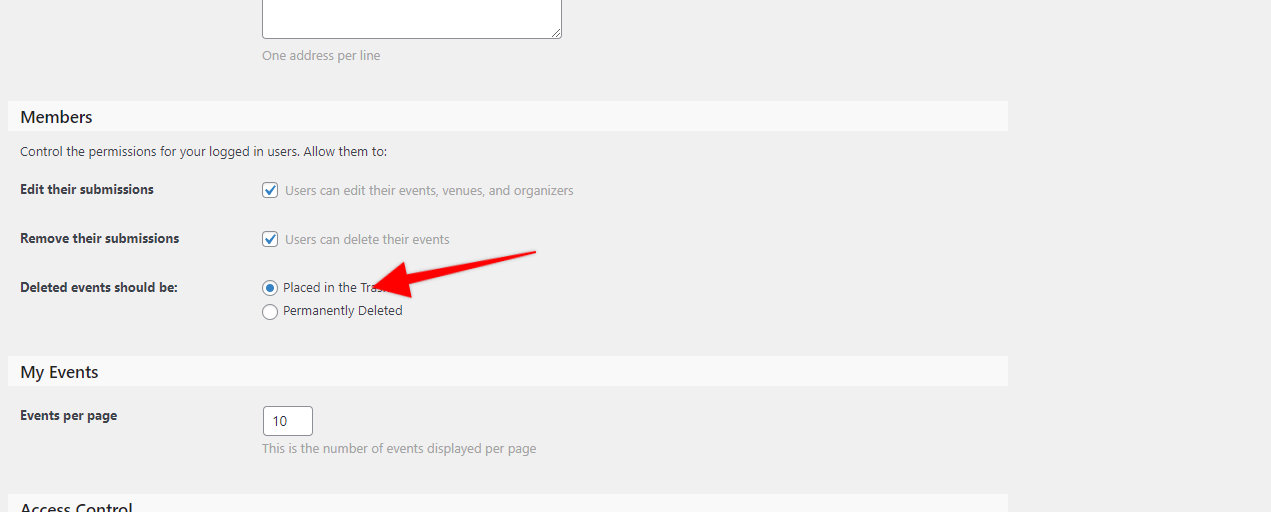
Trash: Deleted events go to the Trash and can be restored if needed.
Delete Permanently: Events are permanently removed.
9. Configure Alert Settings : Set up email notifications to stay informed about new event submissions:
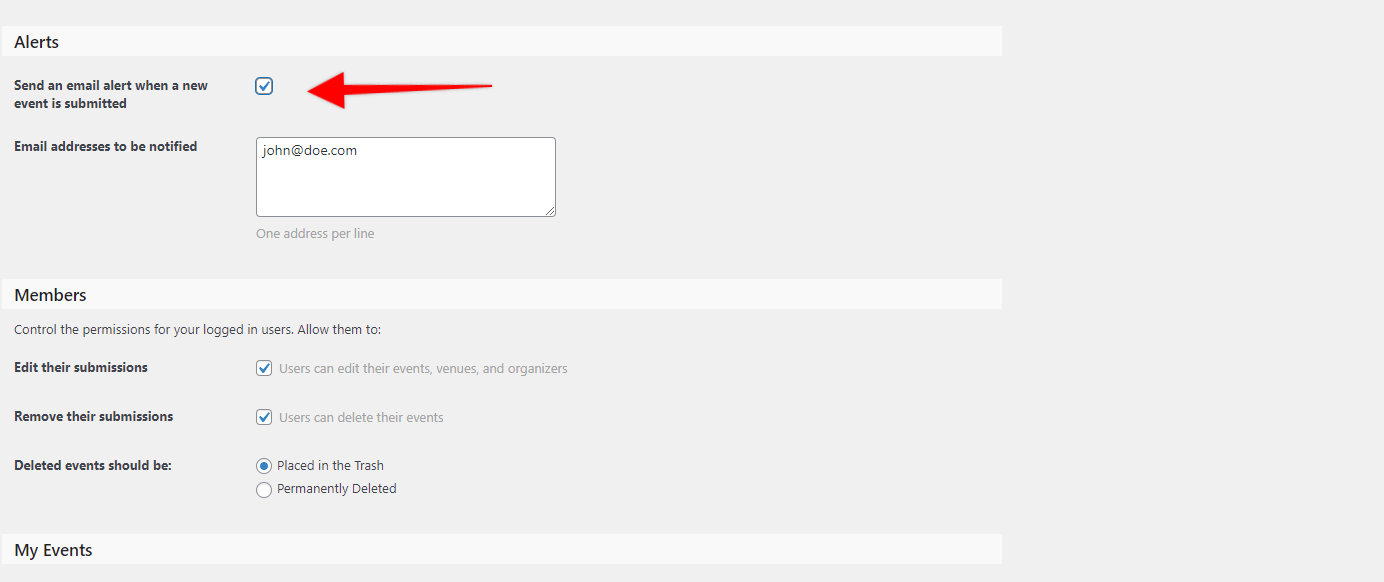
In the Community settings page, scroll to Alert Settings, tick the box and enter the email addresses that should receive notifications when a new event is submitted.
That’s it! You have now configured your Community event submission form.